Wednesday, April 21, 2010

File Folder Games

During my absence, I spent a week of my crafting time doing making these:


File Folder Games!

They're really easy to do!

What you need:
  • Manila file folders
  • computer and printer
  • coloring tools--- I used crayons and pencils
  • buy (or find a friend who has) a book full of games. I recommend {Finch Family Games}. Each book comes with a CD; so you can choose to color the games in yourself or print out colored versions. This is the book I bought:Sticky Velcro circles
  • scissors
  • Three-ring binder, two inches wide
  • binder clips

Some hints/tips when making file folder games:
  • Use the colored-in version of the games, if you can't color for a long time. Personally, I colored half of mine in and printed out the other half. Here's a close up of one of the ones I printed out pre-colored:
  • If you take your game to get lamintated (which I recommend), cut down the folder before adhering the game to it. It'll save you time at the print center.
  • Also, leave space in the middle crease so you can hole punch the game after lamination.
  • Since you hole-punched your games, store them in a three-ring binder. I bought a two-inch binder (it fits about ten games and pieces).
  • Home laminate the game pieces. You can use clear contact paper (about $5 for one roll), self-laminating sheets, or a home laminator. All reasonably priced.
  • Use binder clips to keep pieces with the correct game. It also comes in handy keeping the game closed.
  • When we go to church, I only take three or four games with me. As apart of our Sunday morning routine, I go grab a couple games and stick them in my son's sacrament bag.
  • Sticky velcro circle are just fine to use as your pieces. I was really worried that they would be too loud during sacrament meeting. I now know from experience, it's not.
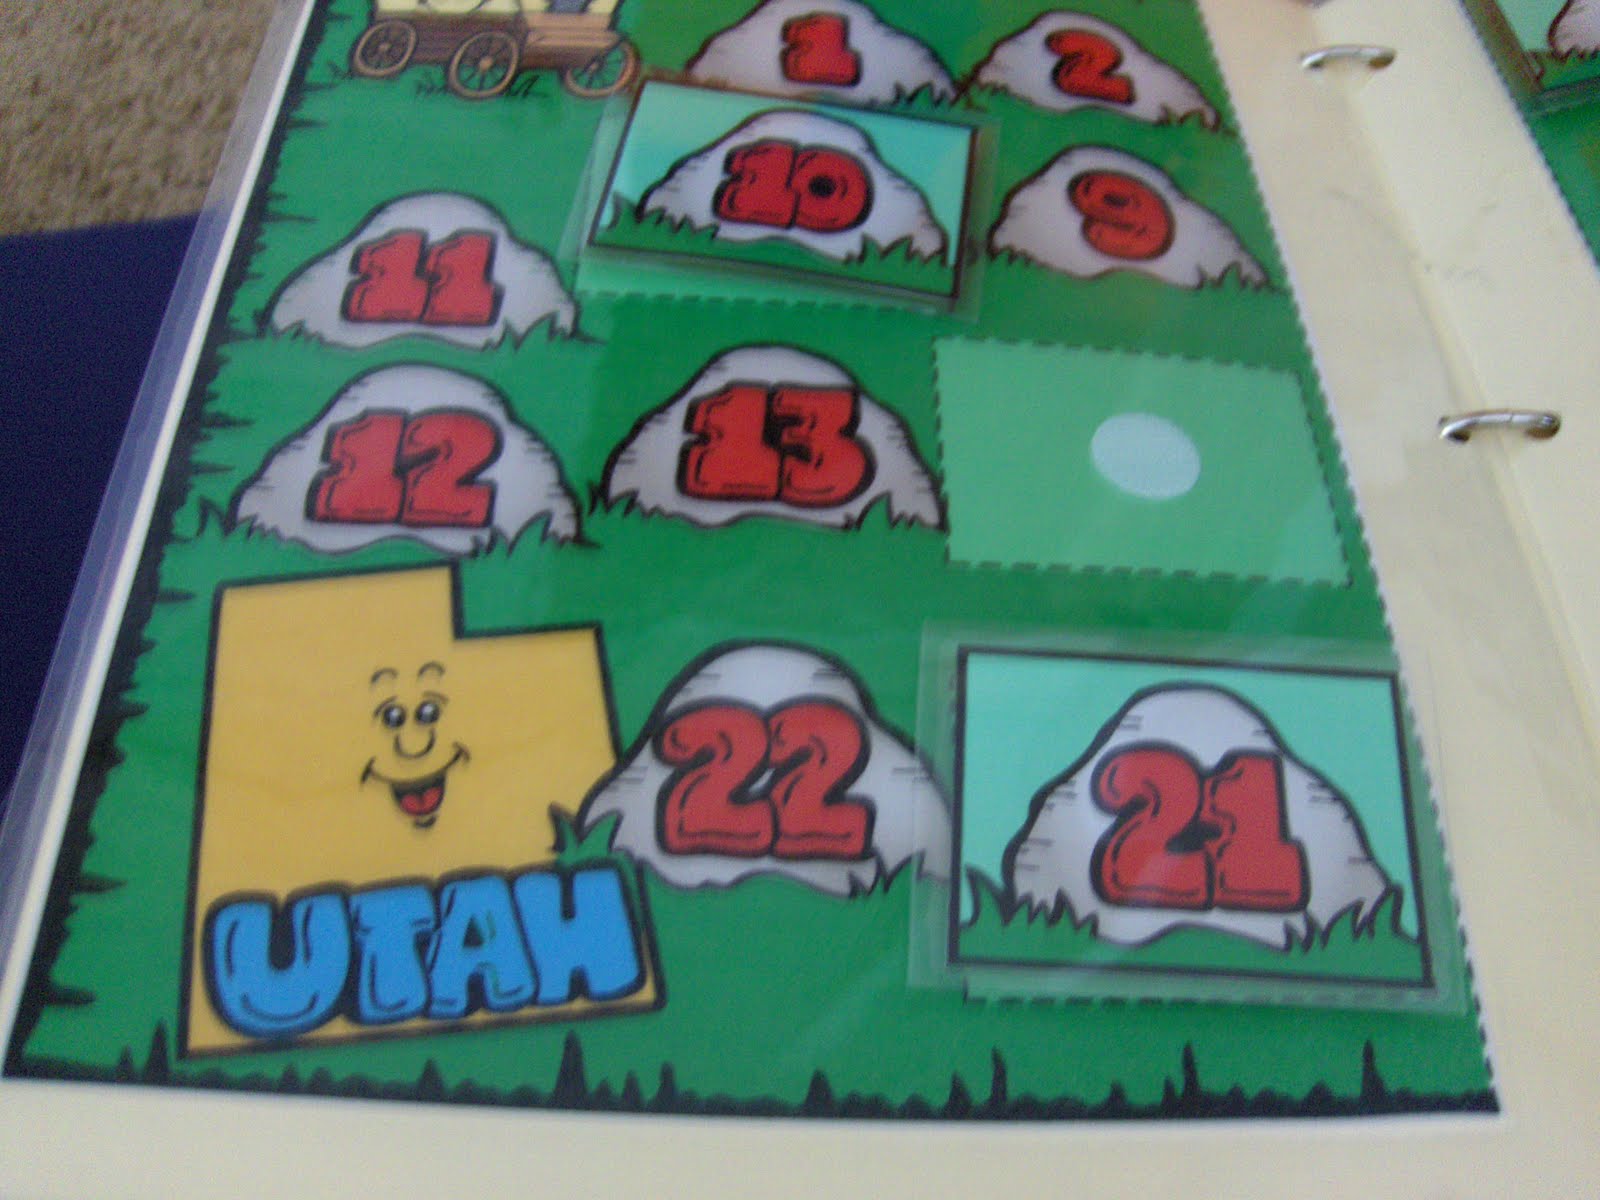
This is a simple, quick and fun way to make quiet games for your kids to play during church. Plus, you can color in the pages any down time you have. Just remember to have fun! It doesn't have to be perfect, your kids will play with them no matter what!

giveaways

Tuesday, April 13, 2010

Crochet Flower Bracelet

I stayed up late last night because I could and made this. My roommate is getting married later on in the summer and is having a bridal shower before everyone goes home. I wasn't sure what I would be able to do for her since I don't have a lot of money. As I was watching YouTube I discovered bead crochet. (That isn't part of this because I don't have a hook small enough. Later projects in the future hopefully.) Since I couldn't get that to work with my hook I started playing with my string and thought of making a bracelet. Then came the flower idea and using the beaded star in the middle. I think that it turned out pretty nicely.

Past Craft: Pin the Tag on the Missionary

Sorry about the gap of posts, we had a string of visitors and now our house has been contaminated with sickness. I probably should be sleeping, but I wanted to free myself of the crafting guilt and post a project. :)

I have been crafting in my long absence, so stay tuned. I'm also slowly but surely getting the courage again to think about quiet book which means a post on tips for you and some templates.

Onto the craft!

At church last year, I served as a Primary teacher up until my daughter's birth. One of the lessons was one missionary work, so I wanted to find a cool activity to do with my class (11 year olds). I had an idea for a fun game: Pin the Tag on the Missionary, so I found a drawing of a missionary (sorry I don't remember where I got it) and started from there.
How to play:
Players earn elder tags by doing the activity or answering the question on opposite side. Once all Elder tags are divided then play as 'Pin the Tail on the Donkey.' Player closest to the tag box is the winner

How to Make Your Own:
Supplies:
scrapbook paper, construction paper, poster board, black cardstock, favorite adhesive, a marker, laminator (or access to a local FedEx Kinkos), list of activities (see end of post for ideas)
  1. Cut the posterboard to 11 inches by 14 inches. I did this because I didn't want to carry a huge game around and I wanted it to fit in the laminator.
  2. Design your missionary. Basically, I found a drawn picture of a missionary, printed him off and cut him apart to use as templates for my missionary. I also used my creative license to add a Book of Mormon. Don't forget to draw a tag box on your missionary. Mine is 2 in by 1 1/4 in.
  3. Glue pieces onto board. Now onto the Elder tags.
  4. Open up a publishing software and create the back of the tags. I made 24 2in. x1 1/4 in. text boxes in one document in Word. In each box I have an activity to act out or a question to answer. Print and cut out.
  5. Using your black cardstock, cut out 24 2.5 in by 1.75 rectangles. On one side, write the word 'Elder.' Glue an activity box to the other.
  6. Now you're ready to laminate and play!
My class ended up having a lot of fun playing the game and now it's stored away for when our kids get older.

NOTE: In my sick haze, I can't quite figure out how to upload my 'tags' document, so I'll give ya'll the next best thing, my ideas:

Things to act out:
reading the scriptures, introducing yourself to others, tie a tie, fixing a tire on your bike, riding a bike, cooking a meal, knocking on doors, sewing a button, writing a letter, saving money, ironing a shirt/blouse

Questions:
Talk about your favorite Church hymn/song.
Tell something you can do to help your testimony grow.
Give someone a sincere complement.
Who is your favorite person from the scriptures? Why?
Share what you could write in a BoM to give to a friend.
Tell why you appreciate Jesus Christ.
Name two ways you can set an example.
How could you be a friend to someone who seems to be left out?
Name a Church magazine/book you could share with a friend.
Repeat and/or explain an article of faith.
Name a Church activity you can invite a friend to.
Repeat and/or explain your favorite scripture.
Name two ways you can be kind to others.
Name a Church video you could share with a friend.

Enjoy!

Thursday, April 8, 2010

Wedding Gifts

My cousin, Carlee, is getting married today and having a reception tomorrow. I thought that I would make her and her husband some gifts since I don't have a lot of money. Her's was the easiest to come up with since I didn't know anything about Eric. I think I figured out something pretty generic that he'll like.

I first made Carlee's gift. Since she's a hairstylist, I thought that a headband would be nice for her. I decided to go with a three-layer flower that alternated some color. (I found out how to make this flower on YouTube a while a go.) I figured out the leaves on my own and then crocheted a way for the flower to slide on the ribbon. I made the attachment wide enough to fit on most headband if she ever wishes to switch it out.

Then came Eric's gift. At first I wasn't sure what I could make him; then I figured that he probably had an MP3 player or iPod. Most people do nowadays. I wanted to use the gray as the base and then use the same colors as Carlee's gift but you can see that idea changed. It really depended on what button color I chose to close it on the back. It ended up being yellow because I liked the contrast so much. I decided to go with a monster face from there. I also made the case big enough to fit my iPod which is the biggest size physically so I was safe to give it to him. (I think when my current case dies I'll be making one kind of like this. xP )

My hope is that they find a use for these gifts and like them. I guess I'll find out when I give these to them.

Monday, March 15, 2010

Girly Nursery

We finally finished our little girl's nursery and I have to say, it's one of my favorite rooms in the house. I think I love the kids' rooms and downstairs because they're all painted. So---here's the rundown on what I did.

First off---I found fabric I wanted to use in her room. From the fabric I pulled the two paint colors: a light pink and fuchsia-type pink. Then we painted. :)
Second---One the long light pink wall, where her WHITE crib is we painted circles to frame the letters of her name. Don't know how to paint circles? Find a bowl in your kitchen in the size you want and use a pencil to trace it on your wall. Then paint--- it's that simple!
Third---On the window wall I made inexpensive art and the valence for the window. I got plain wood embroidery hoops, stained them the dark brown. Then I put some of the fabric in the hoops used Fabric-Tac to glue them to the inside of the hoops and had three pieces of art for my little girl's room.
Close up of some of the hoops.
Fourth--- I made the mistake of buying wall stickers at Target thinking they'd work on textured walls. They don't. Within a day, almost all of the stickers fell off. To feel as though we didn't waste any money, I found three cheap panoramic frames and put the dots on the plastic outside of the frame. I never took a picture, but if someone really wants to see it---I will. I don't know if I like it enough to keep it in the room.

Fifth--- To finish it off--- THIS and THIS are on the little wall, right next to the closet. Overall, I'm really pleased with how everything turned out, but I'll take a little more time to think things through before I move onto the Knight's bedroom.

I used lavender and light green to accent with dark brown and white furniture.

Wednesday, March 10, 2010

Quick 'n Easy: St. Pat's Decor

So I made this in a little over 30 minutes the other day and I LOVE how it turned out.

All you need is: thin canvas, dark green acrylic paint, scrap green fabric, a little bit of ribbon and mod podge

1--Paint the canvas
2--While canvas is drying cut out shamrock leaves using a heart clipart
3--Mod Podge the leaves
4--Glue ribbon to the back of canvas
5--Hang and Enjoy!

giveaways

Monday, March 8, 2010

Alice in Wonderland Charms

I was a silly person and stayed up really late last night to make these. The idea came and I couldn't stop thinking about it. So I just went ahead and made them. I decided to use different colors of polymer clay so I wouldn't have to do the painting step. This morning I finally glazed them after doing all of my homework. I think that they all turned out pretty well. I thought of making the Cheshire Cat's mouth more prominent but I thought that would make him stand out too much from the others. What do you think of them?