Showing posts with label church. Show all posts

Tuesday, January 6, 2015

2015 Primary Theme Posters: FREEBIE

I know--- a long time, no blogging. I needed to focus on the other aspects of my life (including my most recent pregnancy) before I could come back. This pregnancy happened to be the most difficult and to finish it off, I had the baby five weeks early.

I don't know how much I'll be able to keep up, but it is a desire to do so.  I haven't stopped making things, just stopped writing about it. Hopefully, I'll be able to finally share my Gospel Quiet Book templates with y'all, as well.

Plus, my sister and partner-in-crafting, Megan (the Mule of our Mule 'n Nag) is now serving a mission for our {Church} in Hong Kong. So, she's not posting for another year, or so.

Anyway--- I come back with a freebie!


The children's program in the church, the {Primary}, has a church-wide theme which changes each year; each month also has a different theme under the general yearly theme.  I made posters to go with each of the monthly themes and I wanted to share them with y'all.

A couple years ago, I discovered this amazing woman, Heather, and her blog {Simply Fresh Designs}. She's made these posters for the last few years, but hasn't had the chance to make ones for this year yet--- so I thought I'd make some inspired by her.

My family prints off the poster as the small size and we display it on our pantry door for the month.  It helps our kids practice monthly theme or scripture, if they have it, and sometimes we use it to focus our {Family Home Evenings} to be the same as what they talk about in Primary.

If you download, I just ask that you {LIKE} us on Facebook and continue coming back when I'm able to have a few minutes to share something new.

Download the posters {HERE}.

Friday, April 1, 2011

FREEBIE: Easter Subway Art

With Easter coming up, I've been thinking a lot about {Jesus Christ} and His Resurrection. I also happen to be directing a play with the same subject matter (2 weeks to go)--- that might be the bigger reason why I'm constantly thinking about Him.

In our house, we have very few Easter decorations because we don't want to put more emphasis on candy, eggs and baskets, then on the Savior of the World. Don't get me wrong, we still celebrate Easter, but the biggest thing we celebrate is that Jesus Christ LIVES!

So--- this morning, I dove into a popular decor medium right now, Subway Art, and created subway art to focus on the Savior.*Made to fit 5x7 and 8x10* I printed mine off at Costco and it looks great!

I just might print off wallet-sizes as a gift for my cast and crew. For all their hard work.

The scripture in yellow is {John 20: 29}

And--- because I wanted to continue to share--- I share with you, our small reading base, in hopes that we all remember who made Easter truly great! ;)

Wednesday, September 15, 2010

Family Night 1-2-3

About a year ago, I read about this idea in the {Ensign}. I knew it would help us improve in having more habitual {Family Home Evening}.

FHE, 1-2-3!

The original idea called for glass jars... FHE Jars. I really want to have glass for something I knew my young kiddos would freqently touch (I kept imagining glass shards flying all across our tile), so I waited to make the craft until I came across the perfect plastic containers. Thank you, Crystal Light!

Supplies: 3 plastic containers (I reused our old Crystal Light containers), larger container to hold them in (I got mine at Hobby Lobby in the clearance section), large Popsicle sticks, 3 sheets of scrapbook paper, spray adhesive, sticky velcro circles, small wooden cutouts (one for each family member) and multiple permanent markers.

To make the containers
  • Cut out a large enough rectangle to wrap around each container (mine are 6 by 8 1/2 inches)
  • Next, lay out some cardboard/newspaper and spray a generous coat around one container. Wrap the rectangle around and repeat for the other two containers.
  • If you have a cutting machine, you can cut out the numbers 1,2,3 for each container. If not, do what I did and cut them out of paper and glue them on.
The activitiesThis is actually the most time-consuming part. Using your judgment (and the Popsicle sticks) write down individual choices for each component. What, I didn't tell you what each container actually contains? Well... let me explain...

The containers hold a different part of FHE. Every week (or the week before after the evening's activity) draw one stick from each container.

Here's how to divide the containers:
1- Songs: In ours, I wrote the song title and the number found in the Children's Songbook. You could also do songs from the hymnbook.
2- Spiritual Thought: Things like family stories or names of books/magazines to get lessons from (such as the Friend, Ensign, Nursery Manual or Preach My Gospel).
3- The Night's Activity: This is where you could have a Family council, testimony meeting or evening at the Pool.

Don't forget the Wild Card in each container. If you have older kids, you could even create the options for your next FHE! We've had a month with this new system and our two year old loves to pick the sticks--- he even tries to throughout the week!

Lastly, stick velcro pieces all around the outside of your large container and on the back of your wooden cut outs (I have stars for our family). This will help you keep track of who's in charge of the three different containers, prayers and treats!

I hope this helps to make your Family Nights run a little easier--- I know ours have!

Thursday, July 22, 2010

Missionary Work Bookmark

So, now that you have a reminder for yourself to {write a missionary} it's time to make something for the Elder!

I used President Thomas S. Monson's "The Five M's of Missionary Work" as the framework for this bookmark.
Print out, laminate, and send to a missionary! It's that easy!

Remember, if you use this or like this--- link back to me!

giveaways

Saturday, July 17, 2010

Write a Missionary Reminder

On Wednesday, our little brother reported to the {Missionary Training Center} to serve a two-year mission for our church, {The Church of Jesus Christ of Latter-Day Saints}. I know I can speak for Megan, when I say we're going to miss him, but super excited for him to serve the Lord and preach the gospel to the people of Ohio.

I made a couple of things I thought I'd share with y'all.

First, I wanted our family to have permanent reminders to frequently write him while he's on his mission. So, using {THIS} article as a guideline, I made this:

I laminated them and taped our on the fridge, some place I knew we'd see every day, so we have a daily reminder to write a missionary.

Feel free to take this and share with family and friends who also have missionaries, BUT please link back and DO NOT use it in any way, shape, or form to sell. Thanks!

Next--- something for the missionary...

Wednesday, April 21, 2010

File Folder Games

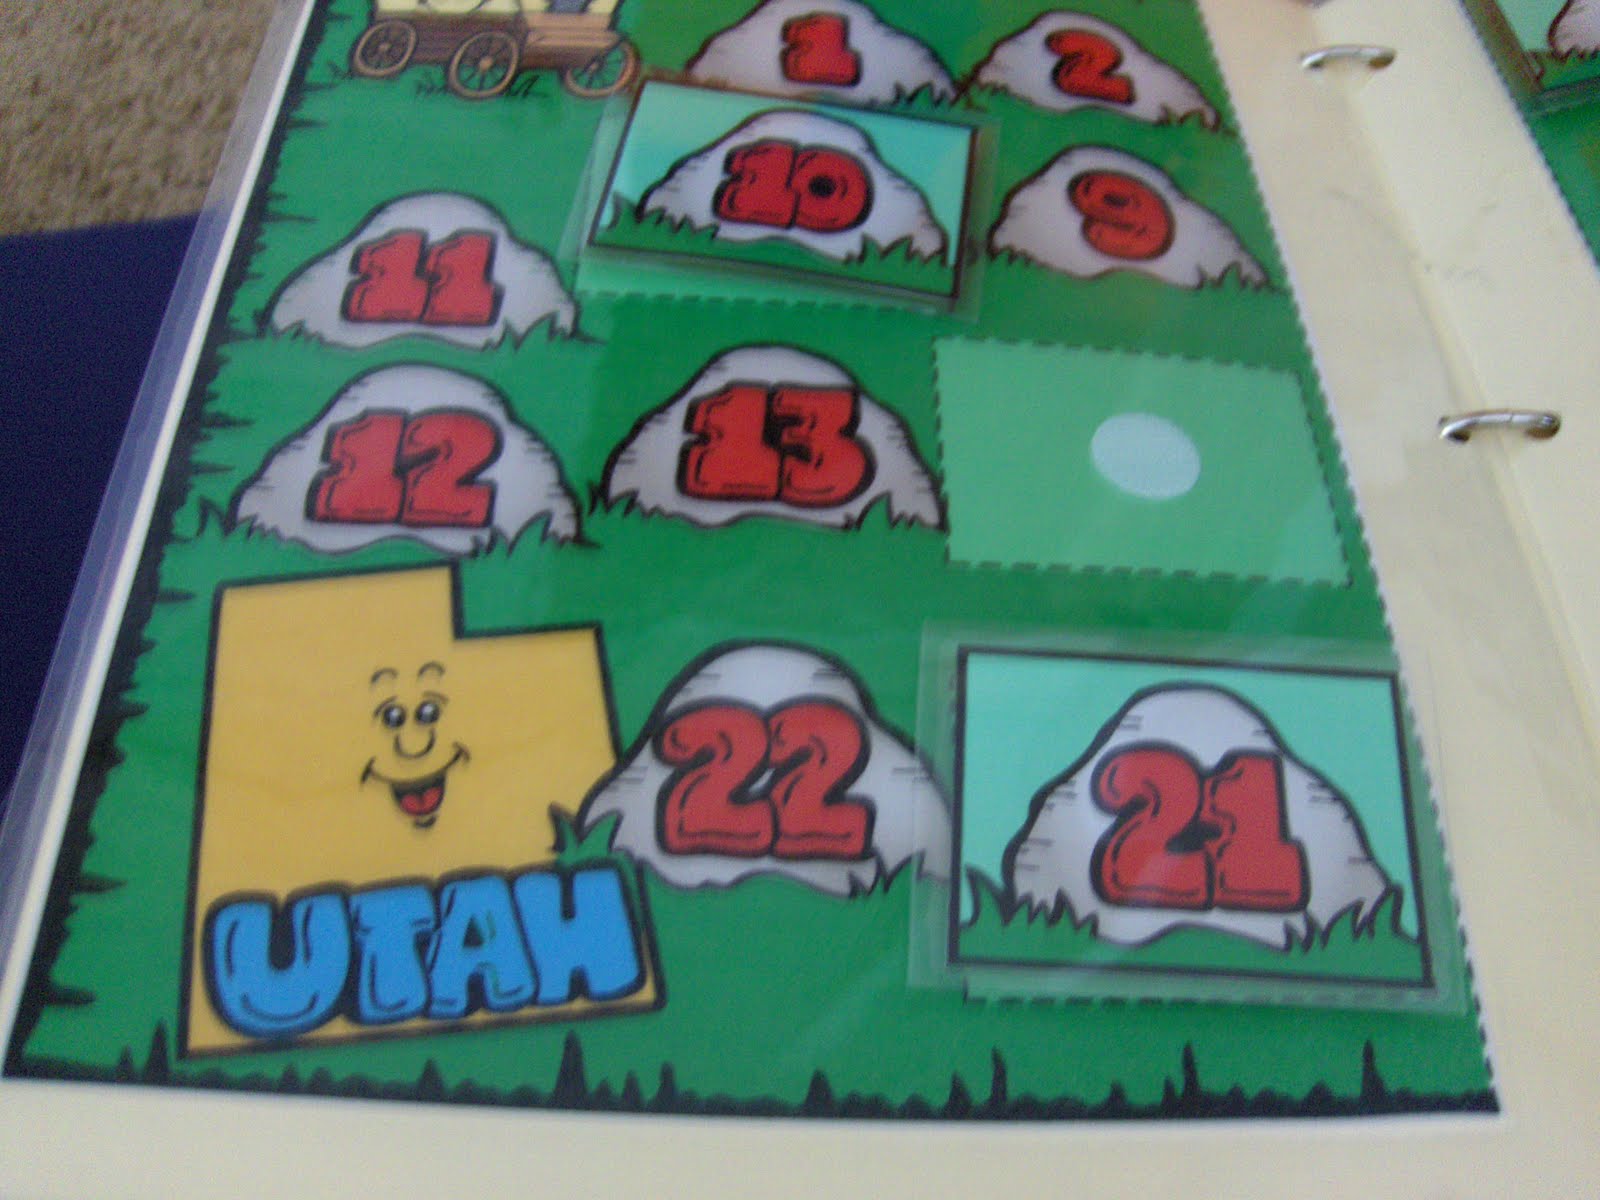
During my absence, I spent a week of my crafting time doing making these:


File Folder Games!

They're really easy to do!

What you need:
  • Manila file folders
  • computer and printer
  • coloring tools--- I used crayons and pencils
  • buy (or find a friend who has) a book full of games. I recommend {Finch Family Games}. Each book comes with a CD; so you can choose to color the games in yourself or print out colored versions. This is the book I bought:Sticky Velcro circles
  • scissors
  • Three-ring binder, two inches wide
  • binder clips

Some hints/tips when making file folder games:
  • Use the colored-in version of the games, if you can't color for a long time. Personally, I colored half of mine in and printed out the other half. Here's a close up of one of the ones I printed out pre-colored:
  • If you take your game to get lamintated (which I recommend), cut down the folder before adhering the game to it. It'll save you time at the print center.
  • Also, leave space in the middle crease so you can hole punch the game after lamination.
  • Since you hole-punched your games, store them in a three-ring binder. I bought a two-inch binder (it fits about ten games and pieces).
  • Home laminate the game pieces. You can use clear contact paper (about $5 for one roll), self-laminating sheets, or a home laminator. All reasonably priced.
  • Use binder clips to keep pieces with the correct game. It also comes in handy keeping the game closed.
  • When we go to church, I only take three or four games with me. As apart of our Sunday morning routine, I go grab a couple games and stick them in my son's sacrament bag.
  • Sticky velcro circle are just fine to use as your pieces. I was really worried that they would be too loud during sacrament meeting. I now know from experience, it's not.
This is a simple, quick and fun way to make quiet games for your kids to play during church. Plus, you can color in the pages any down time you have. Just remember to have fun! It doesn't have to be perfect, your kids will play with them no matter what!

giveaways

Tuesday, April 13, 2010

Past Craft: Pin the Tag on the Missionary

Sorry about the gap of posts, we had a string of visitors and now our house has been contaminated with sickness. I probably should be sleeping, but I wanted to free myself of the crafting guilt and post a project. :)

I have been crafting in my long absence, so stay tuned. I'm also slowly but surely getting the courage again to think about quiet book which means a post on tips for you and some templates.

Onto the craft!

At church last year, I served as a Primary teacher up until my daughter's birth. One of the lessons was one missionary work, so I wanted to find a cool activity to do with my class (11 year olds). I had an idea for a fun game: Pin the Tag on the Missionary, so I found a drawing of a missionary (sorry I don't remember where I got it) and started from there.
How to play:
Players earn elder tags by doing the activity or answering the question on opposite side. Once all Elder tags are divided then play as 'Pin the Tail on the Donkey.' Player closest to the tag box is the winner

How to Make Your Own:
Supplies:
scrapbook paper, construction paper, poster board, black cardstock, favorite adhesive, a marker, laminator (or access to a local FedEx Kinkos), list of activities (see end of post for ideas)
  1. Cut the posterboard to 11 inches by 14 inches. I did this because I didn't want to carry a huge game around and I wanted it to fit in the laminator.
  2. Design your missionary. Basically, I found a drawn picture of a missionary, printed him off and cut him apart to use as templates for my missionary. I also used my creative license to add a Book of Mormon. Don't forget to draw a tag box on your missionary. Mine is 2 in by 1 1/4 in.
  3. Glue pieces onto board. Now onto the Elder tags.
  4. Open up a publishing software and create the back of the tags. I made 24 2in. x1 1/4 in. text boxes in one document in Word. In each box I have an activity to act out or a question to answer. Print and cut out.
  5. Using your black cardstock, cut out 24 2.5 in by 1.75 rectangles. On one side, write the word 'Elder.' Glue an activity box to the other.
  6. Now you're ready to laminate and play!
My class ended up having a lot of fun playing the game and now it's stored away for when our kids get older.

NOTE: In my sick haze, I can't quite figure out how to upload my 'tags' document, so I'll give ya'll the next best thing, my ideas:

Things to act out:
reading the scriptures, introducing yourself to others, tie a tie, fixing a tire on your bike, riding a bike, cooking a meal, knocking on doors, sewing a button, writing a letter, saving money, ironing a shirt/blouse

Questions:
Talk about your favorite Church hymn/song.
Tell something you can do to help your testimony grow.
Give someone a sincere complement.
Who is your favorite person from the scriptures? Why?
Share what you could write in a BoM to give to a friend.
Tell why you appreciate Jesus Christ.
Name two ways you can set an example.
How could you be a friend to someone who seems to be left out?
Name a Church magazine/book you could share with a friend.
Repeat and/or explain an article of faith.
Name a Church activity you can invite a friend to.
Repeat and/or explain your favorite scripture.
Name two ways you can be kind to others.
Name a Church video you could share with a friend.

Enjoy!

Thursday, October 22, 2009

Gospel Quiet Book

Don't forget to follow us, if you haven't already!!! My next few posts are not new crafts, but things I did right before we moved into our house (hence the reason for the lack of posting).

Now that I've finally mailed the second book, I have no hesitation in posting the page pictures.

The only template I used was for Joseph's coat (found here); every other page is a Ambo creation. So, if you happen to enjoy the pages and use them as inspiration, please link here and give credit.

After baby girl's birth, I just might make templates, if there is a big enough demand and we somehow get more readers...

Picture 1: Noah's Ark--fill with animal finger puppets, Tree of Life--sliding people & snapable fruit, Pioneer Wagon--lace cover & attach wheels, Temple Puzzle Page---build temples, & Time for Tithing--pay tithing with envelope and slip inside
Picture 2: Joseph's Coat--colors snap on and off, Jaredites' Journey--boats unbutton from glowing stones, Singing Voices--felt note and beads slide, Puzzle Storage--for temples, & My Scripture Case--pack scriptures for Sunday, can even put real pencil and paper for drawingPicture 3: Temple Puzzles for puzzle page
I made these all for a friend and, after taking a long, much needed quiet book break, I will have no choice but to fulfill the urge to make some for my own children. :)

Thursday, October 8, 2009

Gospel Quiet Cards

I wanted something 'little knight' can look at during those church moments where he seems to be on his last 'good behavior' leg. So, this is what I came up with:


Basically, they are Gospel Flash Cards. Wanna make your own, it's real easy! The great thing is that this project is so flexible you can make as many or as little cards as you want!

What you need:
  • Clip Art and/or Pictures for each subject
  • Book Ring or Ribbon
  • Any kind of Publishing Software or scrapbooking supplies for all you handy scrapbookers out there!
  • Scissors
  • Some type of lamination (I did mine at Kinko's for under $5)
  • Single Hole Punch
Instructions:
  1. Go through and pick however many gospel topics and/or principles you want for the cards. If anyone needs inspiration, here's my list: Jesus Christ, Joseph Smith, First Vision, Book of Mormon, First Presidency, Twelve Apostles, Baptism, Gift of the Holy Ghost, Atonement, Sacrament, Temples, Priesthood, Articles of Faith, Plan of Salvation, Tithing, Word of Wisdom, and Second Coming.
  2. Once you have a list then find pictures and/or clip art to go with each card. (I used a lot from Free LDS Art).
  3. Then, using your publishing software (word, publisher, etc.---I used my lovely scrapbooking software) choose a size to make your cards (mine are 4 x 6) and put the picture with the right card. Some of my cards have more than one picture because I didn't want the picture to look all pixily.
  4. Onto the back: write a little bit about the subject for the back of the card. For example, on the Jesus Christ card, I wrote: Jesus is the Son of God. He died so we can live with Heavenly Father, Him and each other forever. He is our Savior. (Remember to make your back the same size as the front).
  5. You can either choose to print them front to back or separately, either way, print it all out. Match them up and go get them laminated. If you happen to have a friend who has a machine, borrow it! OR you can you Contact Paper (not as durable and kind of tricky) OR go to Kinko's and use their machine. If you don't know how to use it, they'll show you!
  6. Cut out the cards, leaving enough room at the top to punch a hole, and string them through the ribbon or extra book ring!
Now you have a set of gospel cards that your kids will use plenty of Sundays. Our little knight loves to look at the pictures, he even sits quietly in my lap during sacrament to look at the sacrament picture and watch the boys (he's 17 months old). Trust me, you'll have smoother Sundays if you make these cards!

giveaways