Showing posts with label toys. Show all posts

Wednesday, September 1, 2010

Birthday Gifts & Another Giveaway

My best friend's daughter turned two last week, so I made her a few presents:

A reusable Sticker book. I used{THIS} tutorial from {Samster Mommy}. It was really easy to make; in fact, I need to make my kiddos one too! The only thing I did different was the ribbon binding. Instead of using thin ribbon around each page I used my glue gun and a wide-ribbon (1 1/2 or wider) to fold it over to do two at once.

I also made her some felt bracelets:
I got the idea {HERE}, but didn't follow the tutorial at all. I wanted to make the bracelets more durable (they are for a toddler after all), so I doubled up the felt and used snaps instead. I also used a little bit of Heat 'n Bond to attach ribbon as well. I finished each off with a simple {blanket stitch}. When she grows out of them, she (or her mommy) can use them as bookmarks!

Finally, one of my FAVORITE craft blogs is giving away my soon-to-be FAVORITE tool--- the Silhouette, check out the giveaway {HERE} or just enjoy Somewhat Simple {HERE}.

Friday, June 11, 2010

Toy Car Caddy

One of the things we made this last month was a group of these:

Toy Car Caddies

My little knight had a birthday and had friends who had birthdays, so I knew when Meg came in town we had to use some of our craft time to make these for the boys.

We used the tutorial {HERE} at {Homemade by Jill}. Funny thing is we grew up in the same stake together and it's really cool to see all the things she's created.

A couple things we did differently:
  • used yellow ric-rac as the road divider instead of little rectangle pieces.
  • Instead of the car applique (which is way cute) we used some leftover Radiator Springs postcards we printed on fabric for my son's birthday party.
  • We used regular weight fabric for the car pockets and it turned out just fine.
  • Once we got to the third one, I realized the dimensions need to be increased if larger cars were to ever fit in the pockets (like Mater and the Tractor from Cars). So, instead of using Jill's dimensions on the third one, these are the ones I used: 19.5 by 10 for the whole thing, 19.5 by 6 for the car pocket fabric, 19.5 by 3 black felt strip for the road. When you create the pocket width, start from the middle and make the two middle pocket 3.5 inchs wide instead of 2.75 inches wide.
The feedback I've gotten is good; all of the boys love their carriers. Here's my son enjoying his on a long car ride home. And you can bet we'll be taking it when we travel at the end of the month.
If you have a little boy in your life and minimal sewing skills, making one of these is a MUST!

Wednesday, April 21, 2010

File Folder Games

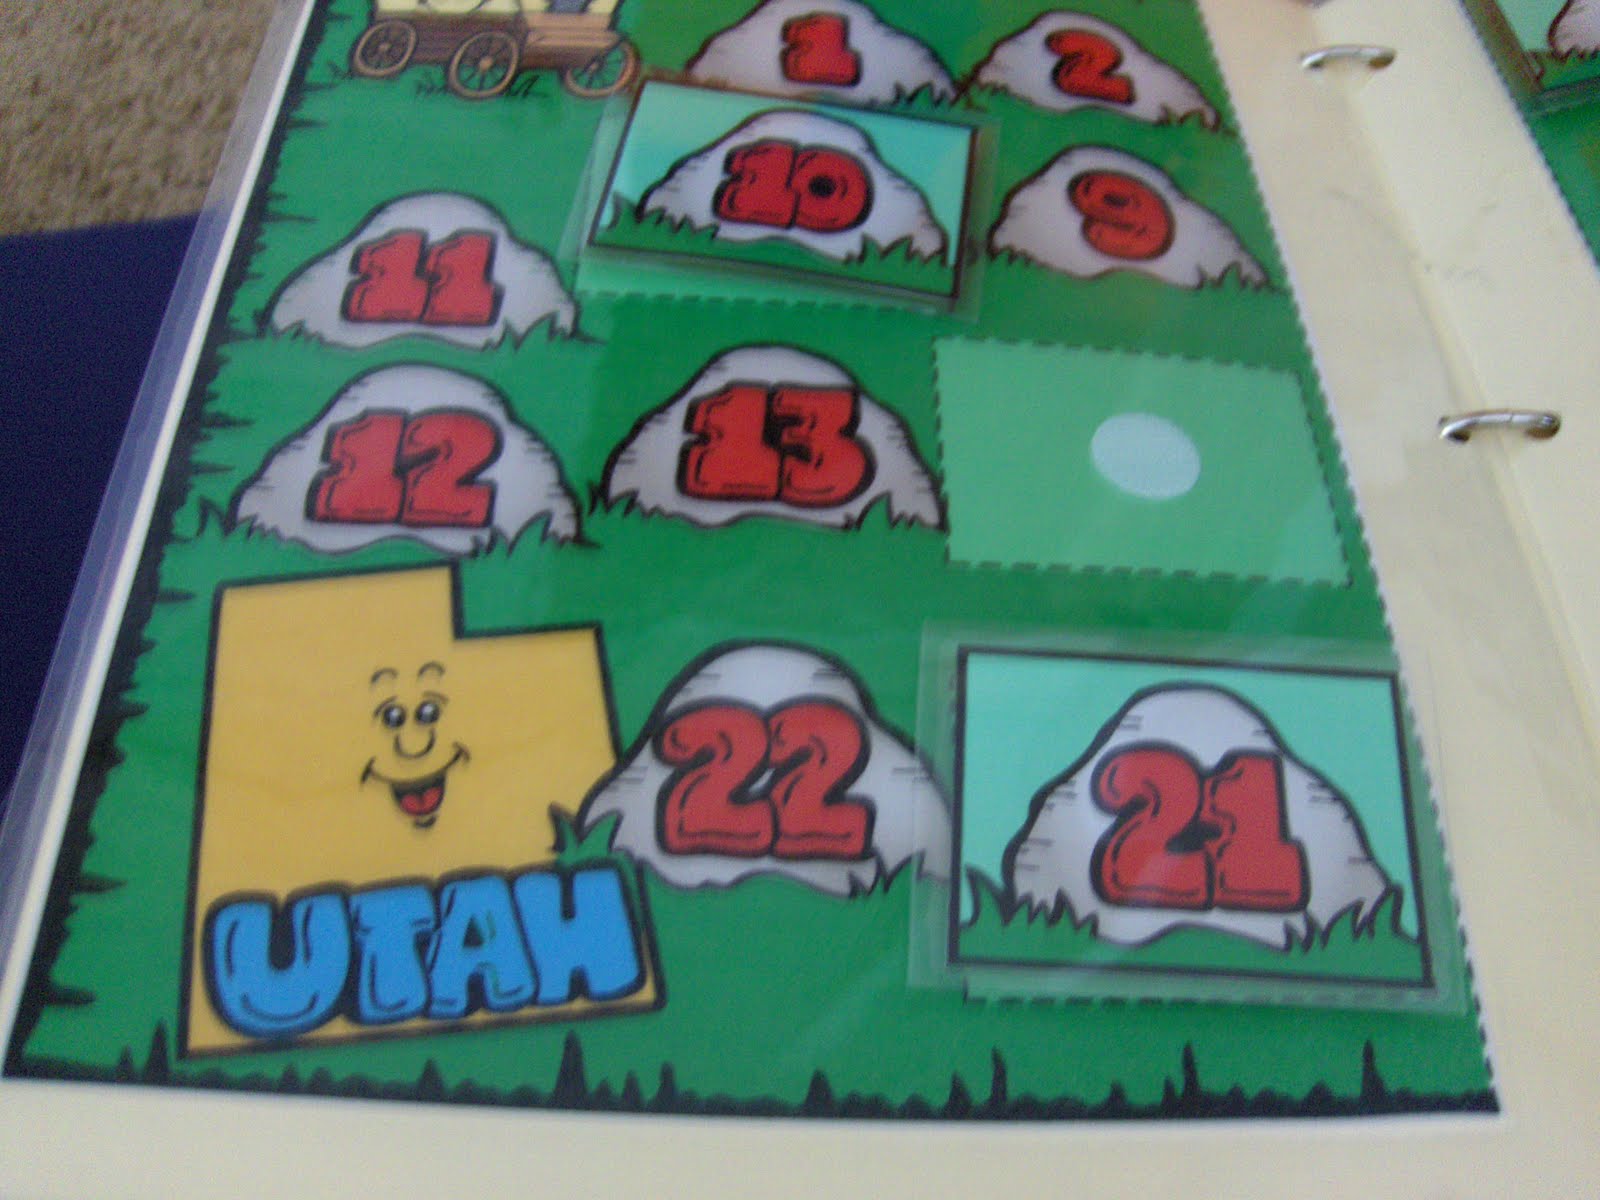
During my absence, I spent a week of my crafting time doing making these:


File Folder Games!

They're really easy to do!

What you need:
  • Manila file folders
  • computer and printer
  • coloring tools--- I used crayons and pencils
  • buy (or find a friend who has) a book full of games. I recommend {Finch Family Games}. Each book comes with a CD; so you can choose to color the games in yourself or print out colored versions. This is the book I bought:Sticky Velcro circles
  • scissors
  • Three-ring binder, two inches wide
  • binder clips

Some hints/tips when making file folder games:
  • Use the colored-in version of the games, if you can't color for a long time. Personally, I colored half of mine in and printed out the other half. Here's a close up of one of the ones I printed out pre-colored:
  • If you take your game to get lamintated (which I recommend), cut down the folder before adhering the game to it. It'll save you time at the print center.
  • Also, leave space in the middle crease so you can hole punch the game after lamination.
  • Since you hole-punched your games, store them in a three-ring binder. I bought a two-inch binder (it fits about ten games and pieces).
  • Home laminate the game pieces. You can use clear contact paper (about $5 for one roll), self-laminating sheets, or a home laminator. All reasonably priced.
  • Use binder clips to keep pieces with the correct game. It also comes in handy keeping the game closed.
  • When we go to church, I only take three or four games with me. As apart of our Sunday morning routine, I go grab a couple games and stick them in my son's sacrament bag.
  • Sticky velcro circle are just fine to use as your pieces. I was really worried that they would be too loud during sacrament meeting. I now know from experience, it's not.
This is a simple, quick and fun way to make quiet games for your kids to play during church. Plus, you can color in the pages any down time you have. Just remember to have fun! It doesn't have to be perfect, your kids will play with them no matter what!

giveaways

Friday, March 5, 2010

Past Craft: Heart-felt Baby Toy

Sorry about the absence, my mommy duties have outweighed crafting because of a sick boy. :(
I'm only getting half of things done, so I thought I'd show off something I made last month.

I used the tutorial {HERE} to jump off of and created these for my daughter for Valentine's Day:

They are really simple and she's already had them in her mouth a few times.

All you need is: scrap fabric, ribbon, stuffing, extra jingle bell, krinkly plastic (from disposable wipes container and sewing notions.

I put the bell in one, the plastic cut into pieces in another, and put ribbons on the outside of the third. To connect them, I cut three long strips of a jersey fabric and braided them together. The ribbon also make it so they can connect to a playyard as well.

They may not be perfect, but I made them for her---and that's what counts.

Monday, February 1, 2010

Alphabet Magnets

First, off, we hope you like the make-over! It was about time! What do ya'll think? I got all the elements as freebies from Digi-Scrap Depot---love them! Don't forget to Grab our Button and become a follower! Now--- onto the Alphabet!

I finally finished a Christmas present to my kids this past week. ALPHABET MAGNETS!What you need:
  • 6 pages of felt
  • Embroidery Floss
  • Needle
  • Basic knowledge of blanket stitch (great tutorial HERE)
  • Small baggie of poly-fil
  • Glue Gun & Sticks
  • 3/4 in magnets
DISCLAIMER: When using the finished product, remember, if the magnets are removed from the felt they could be a choking hazard. As with all toys, supervise your children! :)

Here's what you do:
1. First find a font you like and type up the alphabet. I used Grilled Cheese sized 250.
2. Cut out the letters and use them as a guide to cut out on felt. I just held the letters in place, as to save time from tracing onto the felt. (NOTE: I cut out enough multiples of letters for my kids to spell their names i.e. Bob needs two B's instead of one).3. Use the floss to blanket stitch around each letter. Sounds simple, but it's time consuming. Just take the letters with you whereever you go. Save yourself a little hole to stuff in some poly-fil; stuff and sew the hole closed. Repeat with all letters.
4. Use glue gun to attach one magnet to the back of each letter. Repeat with all letters.
5. Put on fridge or other magnetic surface for child to find after nap. Watch and Enjoy!

Thursday, October 22, 2009

Gospel Quiet Book

Don't forget to follow us, if you haven't already!!! My next few posts are not new crafts, but things I did right before we moved into our house (hence the reason for the lack of posting).

Now that I've finally mailed the second book, I have no hesitation in posting the page pictures.

The only template I used was for Joseph's coat (found here); every other page is a Ambo creation. So, if you happen to enjoy the pages and use them as inspiration, please link here and give credit.

After baby girl's birth, I just might make templates, if there is a big enough demand and we somehow get more readers...

Picture 1: Noah's Ark--fill with animal finger puppets, Tree of Life--sliding people & snapable fruit, Pioneer Wagon--lace cover & attach wheels, Temple Puzzle Page---build temples, & Time for Tithing--pay tithing with envelope and slip inside
Picture 2: Joseph's Coat--colors snap on and off, Jaredites' Journey--boats unbutton from glowing stones, Singing Voices--felt note and beads slide, Puzzle Storage--for temples, & My Scripture Case--pack scriptures for Sunday, can even put real pencil and paper for drawingPicture 3: Temple Puzzles for puzzle page
I made these all for a friend and, after taking a long, much needed quiet book break, I will have no choice but to fulfill the urge to make some for my own children. :)

Friday, October 2, 2009

My First Quiet Book

About a month ago, I spent two weeks of my extra time sewing, hand-sewing, ironing, cutting, cursing felt and a missing zipper foot, I did what I set out to do--- I made a quiet book for our kids.

It's not perfect, but I made it and that makes it all worth it.

I used a lot of resources, most stemming from the blog: How to Make a Quiet Book. I changed a bunch of things to my liking, however, I recommend this site for anyone who is silly enough to attempt their own.

I just recently finished a gospel-themed Quiet Book (yes, two in two months and my husband and child are still alive) for my best friend's daughter, but I'm not posting that until I send it off... so stay tuned!

I'll expound on them at a later date, maybe even throw in a couple of templates (especially the gospel one because it's more of my brain-child), but, for now, I have a few other things I want to accomplish while my son attempts to sleep... we're having a rough day.

Here are the pages:

All of them pre-sewing binding

The finished numbers page (props to my husband and his mad knot-tying skills or this page would still be unfinished)